Tips for Making a Rubber Stamp by Laser Machine | Laser Engraving, Vinyl Cutter, UV Printer - GCC
Stamp engraving is a very common application of laser. Laser is utilized to engrave soft rubber to produce fine words and figures. The engraved rubber, once cleaned up, is adhered to a handle and a unique product is produced. Rubber stamps like this are customized commercial products that are frequently asked.
The following steps will introduce you to some tips for engraving stamps that will give you better performance and a more elegant overall appearance.
1. Check “Invert” in the printer driver to make sure the stamped result meets your needs. *For the laser machine, black means a laser-firing area, and white means not a laser-firing area.

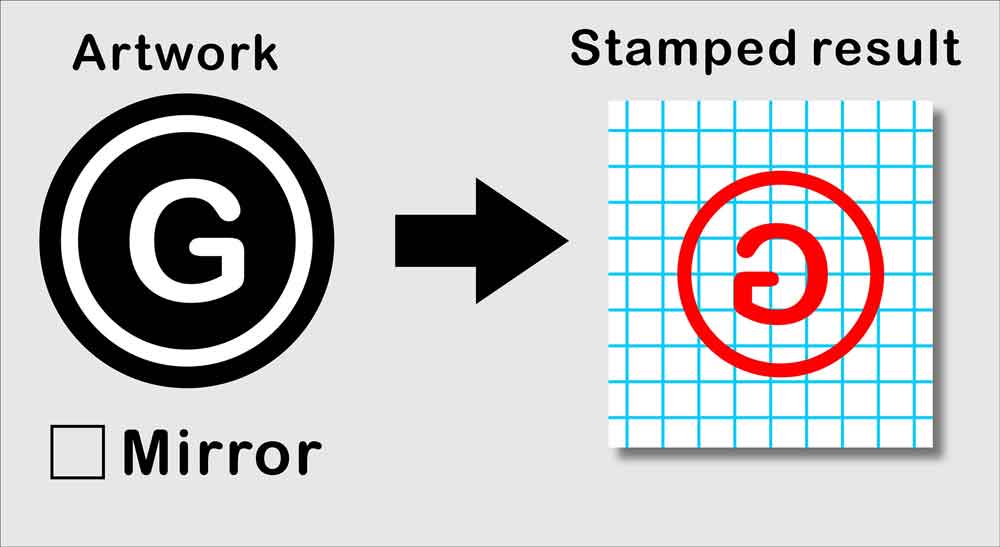
2. Check “Mirror” in the printer driver to make sure the stamped orientation is correct.

*”Invert” and “Mirror” can also be activated on the drawing applications (Illustrator, CorelDRAW, and Photoshop, etc.) if the printer driver of the laser machine does not support it.
3. Set the shoulder level in the printer driver. A good shoulder level can hold and strengthen the structure of the stamp, which provides a perfect stamped result.
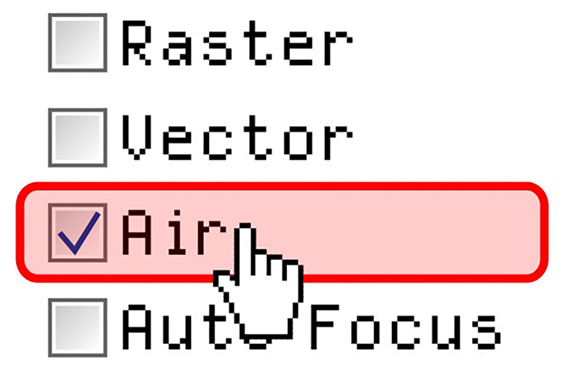
4. Check “Air” in the printer driver. This keeps not only the rubber from overheating during the laser processing but also dusts off the focal lens.
5. The toothbrush is the best tool for cleaning the stamp. Adding some dishwashing liquid can help you to clean dusts off easily.
6. Set a correct engraving parameter to make sure the engraved depth is more than half of the thickness of the rubber to avoid ink stain on the engraved part and residues on paper.
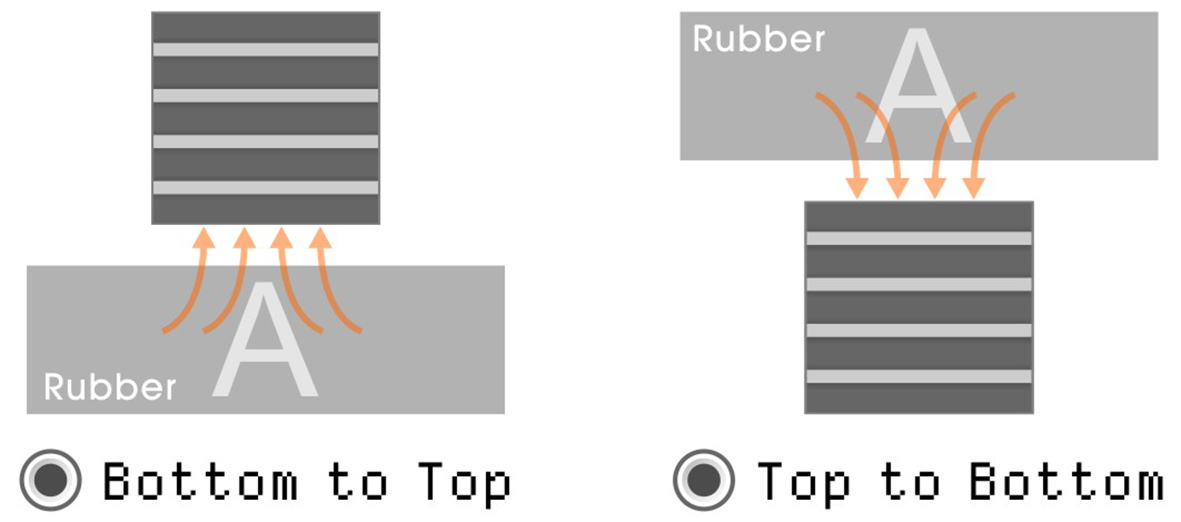
7. Set a correct engraving direction according to the position of the fume extraction system to get the best suction effect.
